Suitable for...
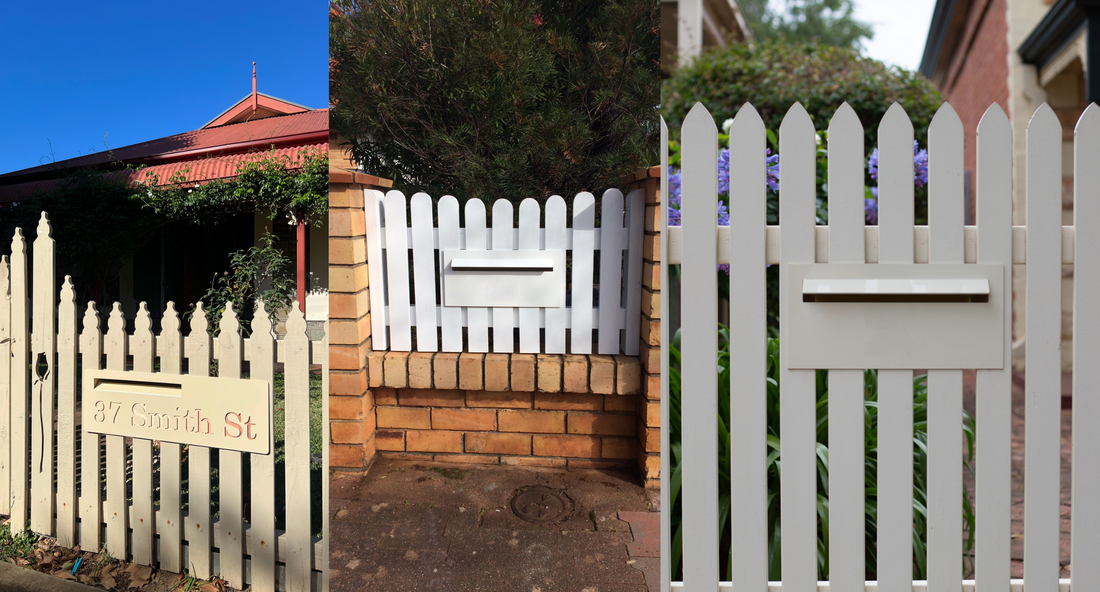
This installation guide is focused on installation a built in letterbox in a wood picket fence, but the same basic principles apply to any other kind of fence such as...
- Wood Slat
- Metal Tubular
- Metal Slat
- Metal Sheet
- PVC
- Emu Wire*
Equipment Needed
- Drill with Hex head attachment, wood drill bit
- Self tapping Tek Screws
- Saw
- Sander
- Rivet gun
- Rivets
- Construction adhesive (silicone, liquid nails, sikaflex)
Letterbox Location
You'll first need to choose where you want to put the letterbox. Think of ease of access for yourself and for the postie.
Australia Post regulates that the slot should be somewhere between 900 and 1200mm from the ground. However, sometimes picket fences such as the one featured in these photographs can be a little short. You may want to double check with Aus Post for clearance before installing a letterbox this low, but as long as posties have clear and unhindered access to the slot there shouldn't be many issues.

Picket fence before installation
Steps
1. Once you’ve chosen your location, measure out the drill points across the pickets to make sure they all line up. You can pre-drill the holes into your flange to match the pickets.


2.Using tek screws, bolt the flange to the back of the pickets. We recommend one per picket across the top and bottom.

3. Using a saw or any other appropriate wood cutting tool, cut out the portion of the fence inside the rear brace frame.


5. Apply some construction adhesive to the surfaces on the fence where the faceplate will make contact with. This provides extra structural security. Slide the letterbox in through the front of the fence and drill two holes through the top and two through the bottom of the box to match those pre drilled in the flange. One on each of the corners of the flaps, starting with the top.

6. Use a rivet gun to pop rivet the flange to the box. Repeat with the bottom of the box

7. For added installation strength, apply some silicone, liquid nails or high strength construction glue to the back of the faceplate to adhere it to the pickets.
Done!


This provides a seamless and aesthetic letterbox installation, with no bolts, screws or rivets showing on the front of the box. For more information on fence letterboxes, check out our other blogs here.